Ubuntu下安装和设置Apache2
发布时间:2012-09-28 17:41:56作者:知识屋
安装指令:sudo apt-get install apache2
安装结束后:
产生的启动和停止文件是:/etc/init.d/apache2
启动:sudo apache2ctl -k start
停止:sudo apache2ctl -k stop
重新启动:sudo apache2ctl -k restart
配置文件保存在:/etc/apache2
需要说明的是,普通的apache发行版本配置文件是:
httpd.conf
Ubuntu发行版本的主配置文件是:
apache2.conf
在apache2.conf引用到了以下文件:
# 包含动态模块的配置:
Include /etc/apache2/mods-enabled/*.load
Include /etc/apache2/mods-enabled/*.conf
# 包含用户自己的配置:
Include /etc/apache2/httpd.conf
# 包含端口监听的配置:
Include /etc/apache2/ports.conf
# 包含一般性的配置语句片断:
Include /etc/apache2/conf.d/
# 包含虚拟主机的配置指令:
Include /etc/apache2/sites-enabled/
修改httpd.conf
增加以下内容:
ServerName 127.0.0.1:80
进一步的配置和使用,就可以查阅APACHE的手册了
相关知识


软件推荐
更多 >


-
1
 雨林木风操作系统软件(Ylmf OS 4.0适用)
2012-07-21
-
2
安装YLMF OS及VBox增强功能(
-
3
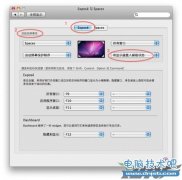
破解MAC苹果电脑系统密码的方法步骤
-
4
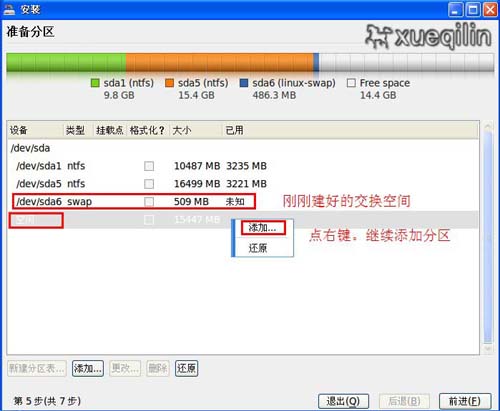
YLMF OS安装分区详解【电脑技术吧强烈推荐】
-
5
Ylmf OS 安装黑屏(花屏)的解决方法
-
6
教你如何使用U盘安装Ylmf OS
-
7
傻瓜式教你修改grub启动画面
-
8
Ylmf OS 虚拟机安装windows XP
-
9
Ylmf OS 详细特性介绍
-
10
关于如何取得系统管理员权限在4.0中的设置[有图]


![关于如何取得系统管理员权限在4.0中的设置[有图]](http://file.zhishiwu.com/allimg/120721/1_0H11GJ64126.png)