Spring Boot: 编写一个 Hello World 应用(Java & Maven)
发表时间:2022-03-26来源:网络
本文介绍如何使用 Spring Boot CLI 快速创建一个 Web 应用,编写一个非常简单的 “Hello World”,使用 Maven 构建并运行起来。
1. 介绍
内容简介: 一个简单的 Spring Boot Web 应用示例
语言框架: Java、Spring Boot、Spring MVC
难度级别: L1
阅读时间: 10 分钟
2. 工具准备
Java SDK : 8.0+Spring Boot CLI : 2.1.2Maven : 3.6.0STS : 4.0Curl / HTTPPie3. 实现步骤
3.1. 创建项目
首先,通过 Spring CLI 创建一个空白工程: Hello World 应用。
$ spring init --name hello-world --artifactId spring-boot-hello-world \ --groupId org.springdev.guides --package-name org.springdev.guides.helloworld \ --language java --build maven \ --dependencies web,devtools --extract3.2. 打开项目
打开 STS,点击菜单 File Import,选择导入向导 Maven 下的 Existing Maven Projects,在下一步中选择刚刚创建的工程目录,确定后导入到 STS 中。
3.3. 项目结构
此时创建的新工程目录结构如下:
├── mvnw ├── mvnw.cmd ├── pom.xml └── src ├── main │ ├── java │ │ └── org │ │ └── springdev │ │ └── guides │ │ └── helloworld │ │ └── HelloWorldApplication.java │ └── resources │ ├── application.properties │ ├── static │ └── templates └── test └── java └── org └── springdev └── guides └── helloworld └── HelloWorldApplicationTests.java在工程根目录打开 pom.xml,其内容如下:
4.0.0 org.springframework.boot spring-boot-starter-parent 2.1.2.RELEASE org.springdev.guides spring-boot-hello-world 0.0.1-SNAPSHOT hello-world Demo project for Spring Boot 1.8 org.springframework.boot spring-boot-starter-web org.springframework.boot spring-boot-devtools runtime org.springframework.boot spring-boot-starter-test test org.springframework.boot spring-boot-maven-plugin 代码说明如下:Spring Boot 版本使用 2.1.2.RELEASE;项目的起步依赖:web、devtools、test;Spring Boot 插件,用于打包和运行应用。
在 Package Explorer 中打开应用主程序文件: HelloWorldApplication.java,可以看到这个文件代码非常简单。
package org.springdev.guides.helloworld; import org.springframework.boot.SpringApplication; import org.springframework.boot.autoconfigure.SpringBootApplication; @SpringBootApplication public class HelloWorldApplication { public static void main(String[] args) { SpringApplication.run(HelloWorldApplication.class, args); } }3.4. 编写代码
3.4.1. 编写 Controller
接下来我们开始编写 Controller。在 src/main/java/org/springdev/guides/helloworld/ 目录中新增一个 HelloController.java,内容如下:
package org.springdev.guides.helloworld; import org.springframework.web.bind.annotation.GetMapping; import org.springframework.web.bind.annotation.RestController; @RestController public class HelloController { @GetMapping("/hello") public String hello() { return "Hello, World!"; } }代码说明如下:
Spring MVC 提供了@RestController注解,这是一个 REST 接口类;设置 Get 请求,请求地址为/hello;响应成功,并返回内容为:Hello, World!。3.5. 单元测试
3.5.1. 编写测试用例
package org.springdev.guides.helloworld; ... @RunWith(SpringRunner.class) @SpringBootTest @AutoConfigureMockMvc public class HelloControllerTests { @Autowired private MockMvc mockMvc; @Test public void hello() throws Exception { this.mockMvc.perform(get("/hello")) .andDo(print()) .andExpect(status().isOk()) .andExpect(content().string("Hello, World!")); } }代码说明如下:
Spring Boot 提供了@SpringBootTest注解,该注解简化了 Spring Boot 应用的测试,提供了对应 spring-test 中@ContextConfiguration的功能,用于创建ApplicationContext; 自动配置MockMvc实例,用于模拟执行请求/hello;验证响应状态码为200,表示成功;验证返回内容为:Hello, World!。3.5.2. 执行单元测试
mvn test运行结果
2019-01-14 19:40:11.860 INFO 71447 --- [ main] o.s.g.helloworld.HelloControllerTests : Started HelloControllerTests in 1.902 seconds (JVM running for 2.661) MockHttpServletRequest: HTTP Method = GET Request URI = /hello Parameters = {} Headers = [] Body = null Session Attrs = {} Handler: Type = org.springdev.guides.helloworld.HelloController Method = public java.lang.String org.springdev.guides.helloworld.HelloController.hello() Async: Async started = false Async result = null Resolved Exception: Type = null ModelAndView: View name = null View = null Model = null FlashMap: Attributes = null MockHttpServletResponse: Status = 200 Error message = null Headers = [Content-Type:"text/plain;", Content-Length:"13"] Content type = text/plain;charset=UTF-8 Body = Hello, World! Forwarded URL = null Redirected URL = null Cookies = [] [INFO] Tests run: 1, Failures: 0, Errors: 0, Skipped: 0, Time elapsed: 2.653 s - in org.springdev.guides.helloworld.HelloControllerTests 2019-01-14 19:40:12.159 INFO 71447 --- [ Thread-4] o.s.s.concurrent.ThreadPoolTaskExecutor : Shutting down ExecutorService 'applicationTaskExecutor' [INFO] [INFO] Results: [INFO] [INFO] Tests run: 1, Failures: 0, Errors: 0, Skipped: 0 [INFO] [INFO] ------------------------------------------------------------------------ [INFO] BUILD SUCCESS [INFO] ------------------------------------------------------------------------ [INFO] Total time: 5.106 s [INFO] Finished at: 2019-01-14T19:40:12+08:00 [INFO] ------------------------------------------------------------------------4. 构建运行
选中工程,然后打开菜单 Run Run as Spring Boot App,应用就开始启动了,可以在控制台看到启动应用的日志。
或者,在控制台下执行命令:
mvn spring-boot:run运行结果如下:
. ____ _ __ _ _ /\\ / ___'_ __ _ _(_)_ __ __ _ \ \ \ \ ( ( )\___ | '_ | '_| | '_ \/ _` | \ \ \ \ \\/ ___)| |_)| | | | | || (_| | ) ) ) ) ' |____| .__|_| |_|_| |_\__, | / / / / =========|_|==============|___/=/_/_/_/ :: Spring Boot :: (v2.1.2.RELEASE) 2019-01-14 19:47:13.422 INFO 71332 --- [ restartedMain] o.s.g.helloworld.HelloWorldApplication : Starting HelloWorldApplication on Michaels-MBP.lan with PID 71332 (/Users/rain/Development/springdev/guides/spring/spring-boot-hello-world/complete/target/classes started by rain in /Users/rain/Development/springdev/guides/spring/spring-boot-hello-world/complete) 2019-01-14 19:47:13.426 INFO 71332 --- [ restartedMain] o.s.g.helloworld.HelloWorldApplication : No active profile set, falling back to default profiles: default 2019-01-14 19:47:13.481 INFO 71332 --- [ restartedMain] .e.DevToolsPropertyDefaultsPostProcessor : Devtools property defaults active! Set 'spring.devtools.add-properties' to 'false' to disable 2019-01-14 19:47:13.482 INFO 71332 --- [ restartedMain] .e.DevToolsPropertyDefaultsPostProcessor : For additional web related logging consider setting the 'logging.level.web' property to 'DEBUG' 2019-01-14 19:47:14.790 INFO 71332 --- [ restartedMain] o.s.b.w.embedded.tomcat.TomcatWebServer : Tomcat initialized with port(s): 8080 (http) 2019-01-14 19:47:14.825 INFO 71332 --- [ restartedMain] o.apache.catalina.core.StandardService : Starting service [Tomcat] 2019-01-14 19:47:14.826 INFO 71332 --- [ restartedMain] org.apache.catalina.core.StandardEngine : Starting Servlet engine: [Apache Tomcat/9.0.14] 2019-01-14 19:47:14.837 INFO 71332 --- [ restartedMain] o.a.catalina.core.AprLifecycleListener : The APR based Apache Tomcat Native library which allows optimal performance in production environments was not found on the java.library.path: [/Users/rain/Library/Java/Extensions:/Library/Java/Extensions:/Network/Library/Java/Extensions:/System/Library/Java/Extensions:/usr/lib/java:.] 2019-01-14 19:47:14.911 INFO 71332 --- [ restartedMain] o.a.c.c.C.[Tomcat].[localhost].[/] : Initializing Spring embedded WebApplicationContext 2019-01-14 19:47:14.911 INFO 71332 --- [ restartedMain] o.s.web.context.ContextLoader : Root WebApplicationContext: initialization completed in 1429 ms 2019-01-14 19:47:15.113 INFO 71332 --- [ restartedMain] o.s.s.concurrent.ThreadPoolTaskExecutor : Initializing ExecutorService 'applicationTaskExecutor' 2019-01-14 19:47:15.289 INFO 71332 --- [ restartedMain] o.s.b.d.a.OptionalLiveReloadServer : LiveReload server is running on port 35729 2019-01-14 19:47:15.359 INFO 71332 --- [ restartedMain] o.s.b.w.embedded.tomcat.TomcatWebServer : Tomcat started on port(s): 8080 (http) with context path '' 2019-01-14 19:47:15.364 INFO 71332 --- [ restartedMain] o.s.g.helloworld.HelloWorldApplication : Started HelloWorldApplication in 2.346 seconds (JVM running for 2.746)5. 测试验证
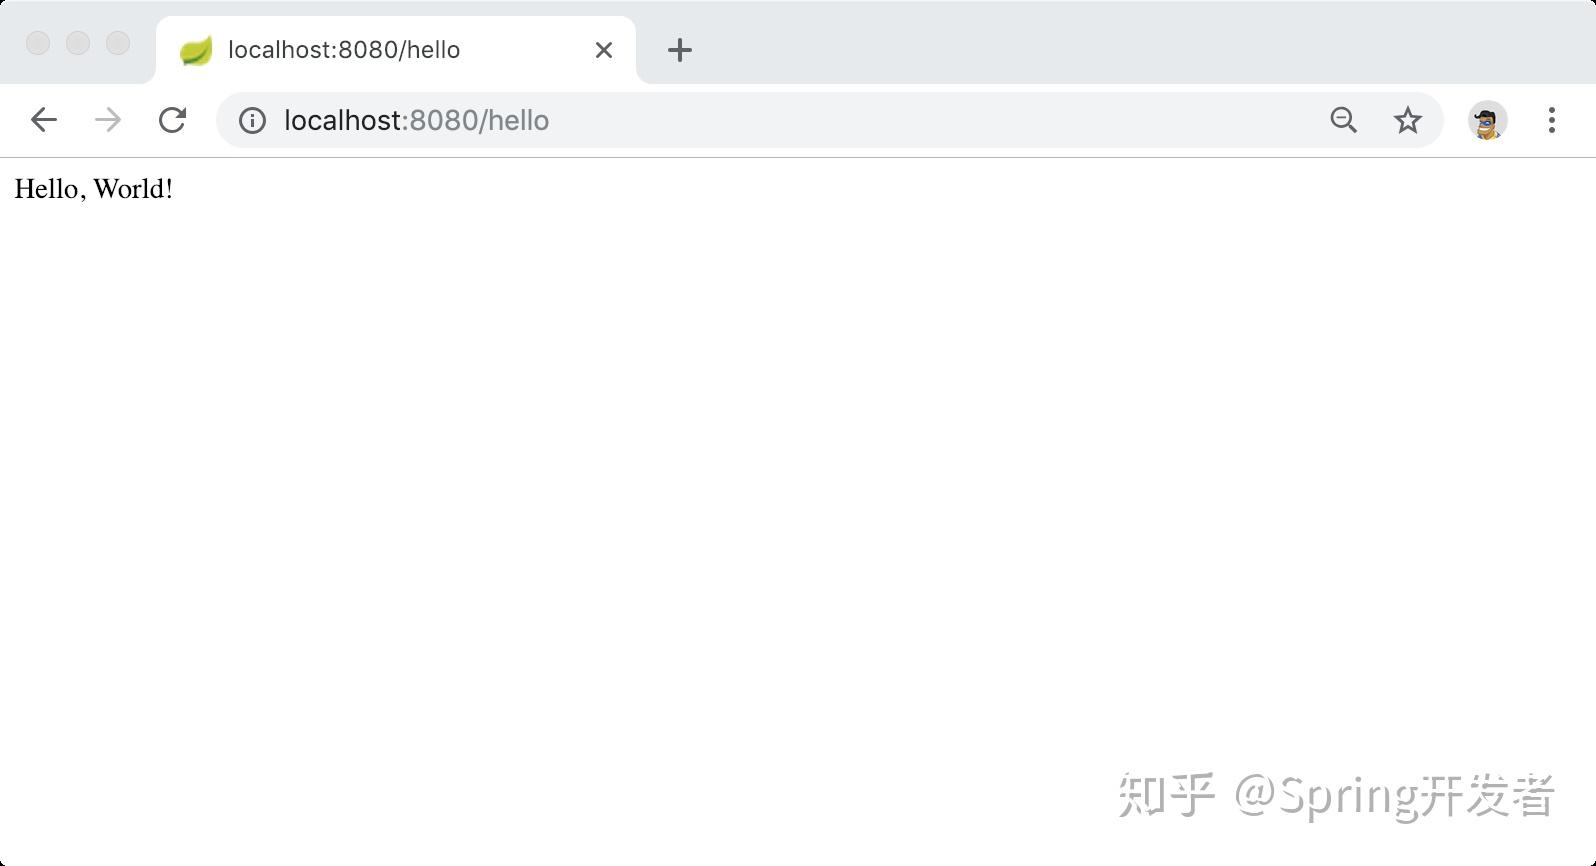
打开浏览器,访问地址: http://localhost:8080/hello 会看到下图所示的界面:
或者,通过 curl 来验证:
$ curl -v http://localhost:8080/hello * Trying ::1... * TCP_NODELAY set * Connected to localhost (::1) port 8080 (#0) > GET /hello HTTP/1.1 > Host: localhost:8080 > User-Agent: curl/7.54.0 > Accept: */* > < HTTP/1.1 200 < Content-Type: text/plain;charset=UTF-8 < Content-Length: 13 < Date: Mon, 14 Jan 2019 11:47:50 GMT < * Connection #0 to host localhost left intact Hello, World!或者,通过 HTTPie 验证:
$ http :8080/hello HTTP/1.1 200 Content-Length: 13 Content-Type: text/plain;charset=UTF-8 Date: Mon, 14 Jan 2019 11:47:24 GMT Hello, World!6. 小结
恭喜,你已经学会使用 Spring Boot CLI 创建一个 Spring Boot Web 简单应用,并且使用 Maven 构建运行起来。
7. 源码下载
原文: Spring Guides
源码: springdev-guides/spring-boot-hello-world
更多内容,请关注 “Spring技术社区”,后续会有更多其他流行框架和语言开发的 学习教程,感谢阅读!
知识阅读


软件推荐
更多 >-
 查看
查看皓盘云建最新版下载v9.0 安卓版
53.38MB |商务办公
-
 查看
查看ris云客移动销售系统最新版下载v1.1.25 安卓手机版
42.71M |商务办公
-
 查看
查看粤语翻译帮app下载v1.1.1 安卓版
60.01MB |生活服务
-
 查看
查看人生笔记app官方版下载v1.19.4 安卓版
125.88MB |系统工具
-
 查看
查看萝卜笔记app下载v1.1.6 安卓版
46.29MB |生活服务
-
 查看
查看贯联商户端app下载v6.1.8 安卓版
12.54MB |商务办公
-
 查看
查看jotmo笔记app下载v2.30.0 安卓版
50.06MB |系统工具
-
 查看
查看鑫钜出行共享汽车app下载v1.5.2
44.7M |生活服务
精选栏目
热门推荐


-
1
 联想笔记本电脑清理灰尘详细步骤
2022-03-26
-
2
 神舟bios设置图解教程
2022-03-26
-
3
 联想拯救者R7000 2020款清灰教程及对硅脂or导热垫选择参考建议
2022-03-26
-
4
 ACPI是什么?BIOS中怎么设置ACPI?
2022-03-26
-
5
 联想ThinkPad笔记本win10改win7系统及BIOS设置图文教程
2022-03-26
-
6
 联想ThinkPad笔记本装win10系统及bios设置教程(附带分区教程)
2022-03-26
-
7
 鸿蒙系统能安装vscode吗
2022-03-26
-
8
 192.168.1.62登录入口管理网址
2022-03-26
-
9
 fast路由器设置网址192.168.1.1,falogin.cn密码
2022-02-15
-
10
 联想笔记本装系统怎么进入PE图文教程
2022-02-14


-
1

-
2
机器人战斗竞技场手机版下载v3.71 安卓版
其它手游 -
3
果冻人大乱斗最新版下载v1.1.0 安卓版
其它手游 -
4
王者100刀最新版下载v1.2 安卓版
其它手游 -
5
trueskate真实滑板正版下载v1.5.102 安卓版
其它手游 -
6
矢量跑酷2最新版下载v1.2.1 安卓版
其它手游 -
7
休闲解压合集下载v1.0.0 安卓版
其它手游 -
8
指尖游戏大师最新版下载v4.0.0 安卓版
其它手游 -
9
飞天萌猫下载v3.0.3 安卓版
其它手游 -
10
火柴人越狱大逃脱下载v1.1 安卓版
其它手游